The Process
How we edit your wedding photos
Conversion from RAW to JPEG
This is where we process the raw image data into standardized file format that can be easily viewed. It also involves adjusting tone for better appearance.

1st Step
Upload and Backup
Photography has undergone significant changes throughout the years, moving from mechanical and chemical processes to digital. Today, it is common for professional photographers to shoot in RAW format. The advantage of using RAW format is that it provides maximum flexibility when editing photos. However, RAW images cannot be viewed or displayed as they are and must be converted to the universal JPEG image format after adjustments are applied.
It’s worth noting that RAW format takes up a lot of space. For example, a wedding photographed in RAW format can occupy between 200-300 gigabytes of information before any conversions take place.
After finishing a photo session, the RAW images are downloaded to a local hard drive on the same day. To ensure the safety of the images, they are also backed up on two separate hard drives. Once the backup process is complete, the culling (image selection) process can begin.
Time involved: 1 hour.
2nd Step
Select the Images
To select the best images for your wedding day, we use specialized software that enables us to quickly categorize and browse through the RAW files. With this software, we can flag, star, or color tag the images based on our preferences. We carefully review and eliminate any blurry, overexposed, unflattering, or inferior duplicates to ensure that your story is conveyed in the best possible way.
After selecting the images, we organize them within your gallery and synchronize the times so that the story unfolds in chronological order. We also ensure that the files from multiple cameras match by time to create a seamless narrative. Finally, we create a folder structure for all your files.
This entire process typically takes between 3-4 hours.
3rd Step
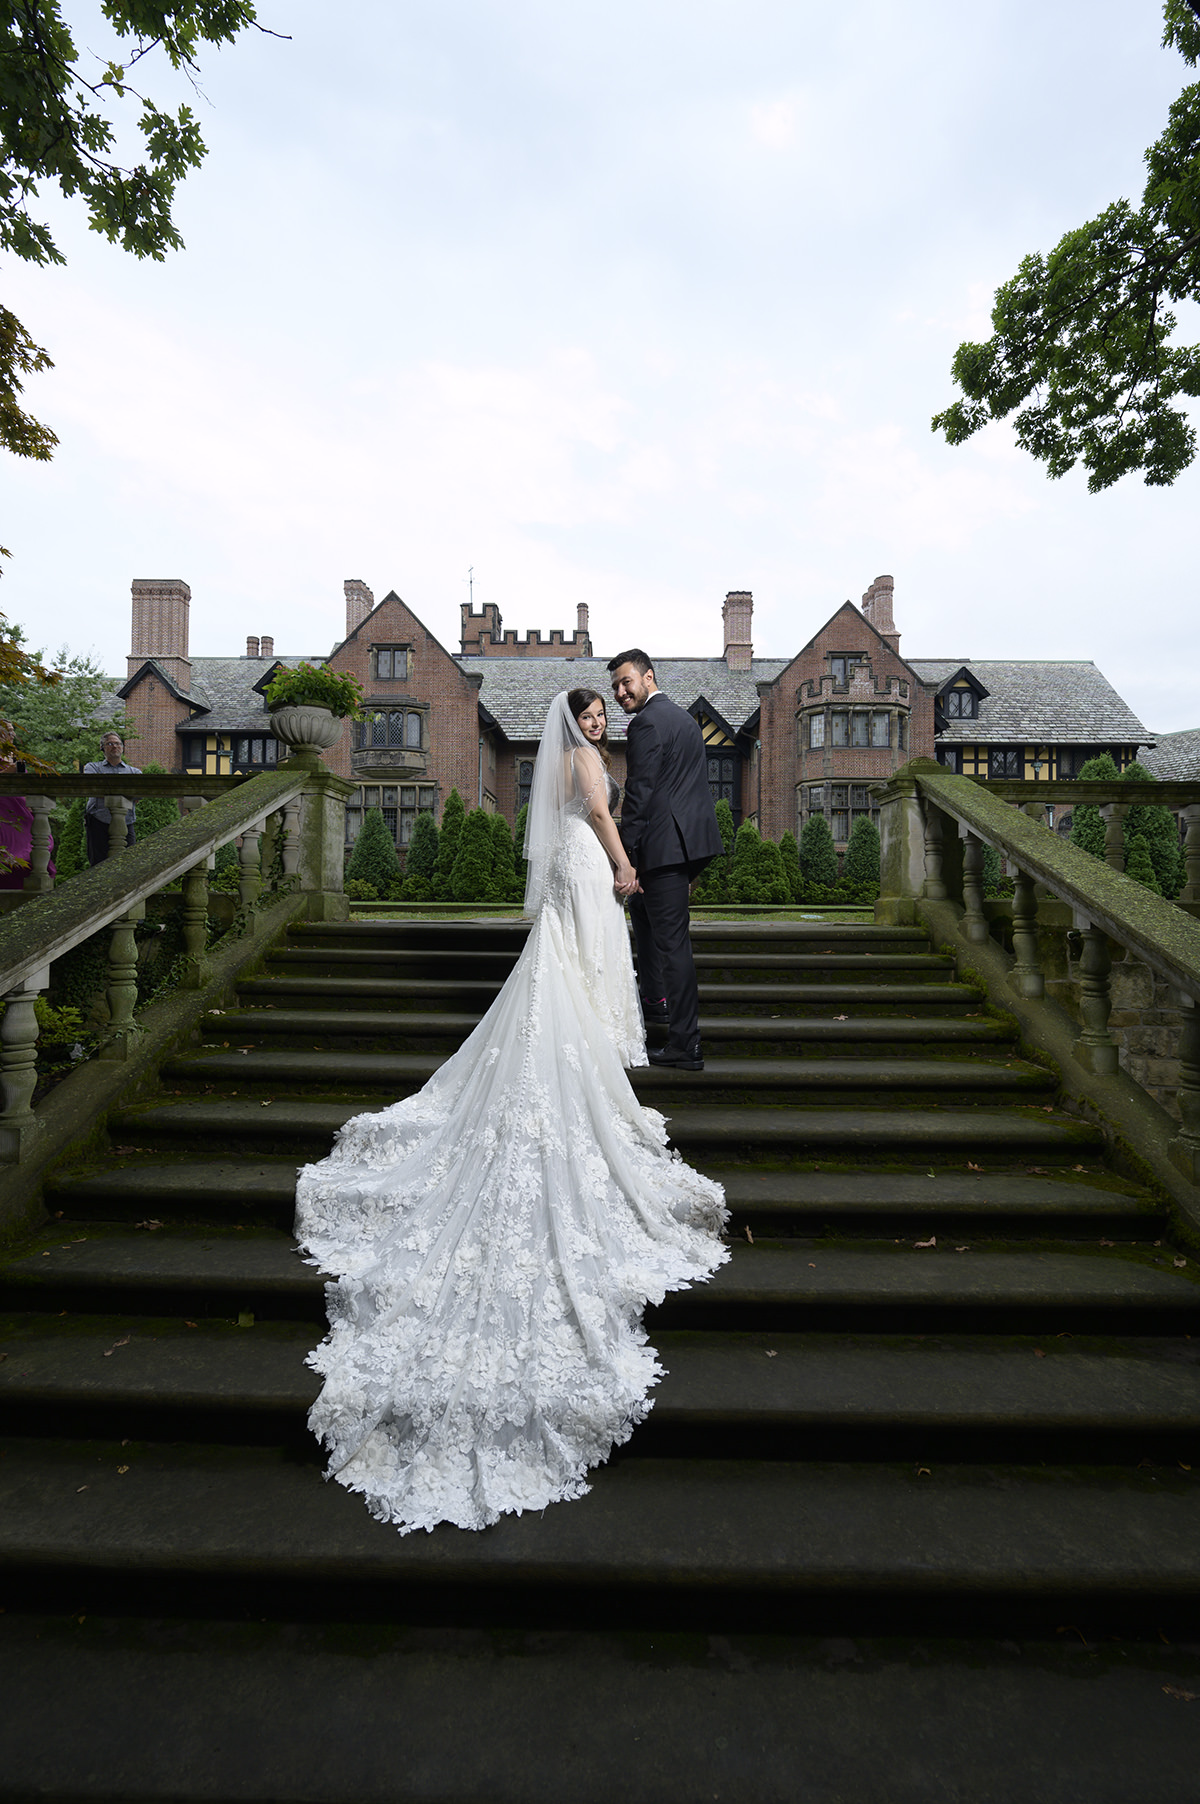
Color Correction
Correcting color and tone is an essential step in refining the final image. We begin this process by analyzing each individual image’s color and tone and making adjustments to color, contrast, white balance, brightness, shadows, clarity, and exposure.
We start by working on the exposure and overall luminance of the photo. While we strive to capture the best possible image in-camera, viewing the image on a properly calibrated screen helps us identify details that require adjustment for the best results.
We then correct the image’s color temperature, particularly for weddings that often involve mixed lighting situations resulting in colors that don’t blend well together. We balance the color between orange and blue, as well as green and magenta to create a pleasing balance for the viewer.
The next step is to make individual adjustments to the highlights and shadow detail, especially in high-contrast environments like noon-time outdoor portraits. The RAW format and modern software help us solve many of these challenges, and we adjust the black point, clarity, and contrast.
We then target individual color adjustments by adjusting the hue and saturation in the red and orange channels to accurately represent the skin tones. We strive for true-to-life colors and rely on calibrated monitors and specialized hardware to ensure color accuracy.
Adding sharpening to the image is the final step in the process, ensuring that the digital files are of the highest quality and produce beautiful prints. Additionally, we use specialized software to target skin tones, creating smoother skin while preserving texture of the subject’s skin.
This entire process typically takes between 8-12 hours.

4th Step
RAW to JPEG
Once we complete color correction and image organization it is time to export your photos.
RAW files are not image files. They are data files that contain all the information captured by your camera’s sensor. Converting RAW files to JPEG files will allow you to use the images for printing and sharing online.
We use our own production computers’ hardware and software to convert images. This a time-consuming process and for wedding image export we leave it run overnight.
Time spent: 1 hour.
5th Step
Album Design
Your wedding album is something to treasure and pass down for generations. Designing your album is how we help craft your beautiful story, that captures the special moments of your wedding.
After curating and carefully placing the images into separate stories, we will reveal the layout to you and finalize colors, options and editing choices on your images.
Time spent: 6-7 hours per album.

6th Step
Advanced Edits (optional service)
Advanced edits are available as an option for our clients. We can adjust the brightness and darkness of different areas in an image, erase unwanted elements like exit signs or background distractions, and even swap the eyes or heads of the subjects in some cases.
This detailed process can be done to you entire wedding gallery, parts of the gallery (such as individual portraits or couple’s portraits) or single images.
These types of edits may include beauty editing or background object removal and is available as an add on service.
We recommend these edits for album images or single images for your wall art.
Time involved: 20-30 hours per wedding gallery.
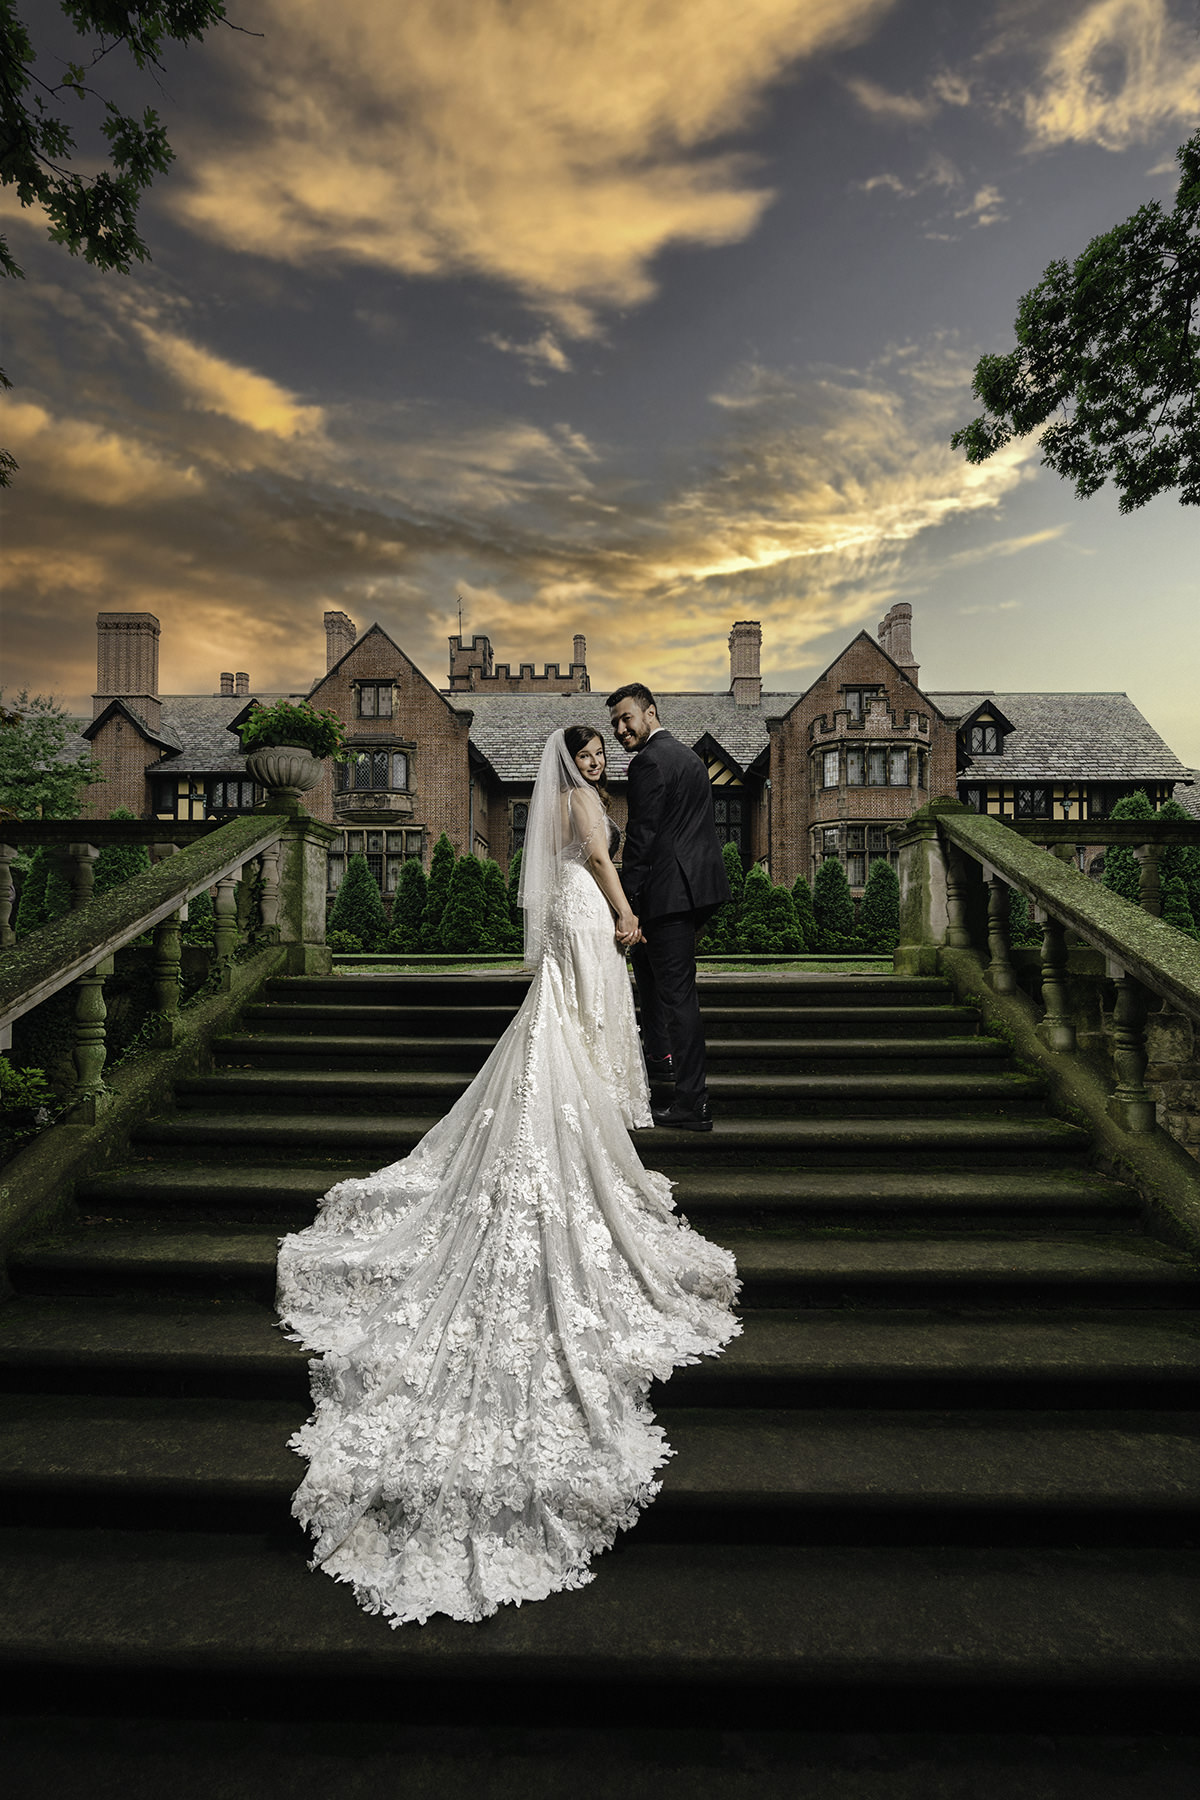
Signature Edits
We create inimitable and stunning photos with our Signature Edits. We plan and photograph these images with a specific vision, and then transform them from excellent to exceptional. These photos take much more time to create and edit than our color correction and creative edits.
We edit these images by hand to enhance the dynamic range, contrast selected areas, highlight the subject, eliminate distractions, create symmetry and harmonize all elements of the images.
These edits aim to create a powerful impression and to capture the essence of your day in one image, like movie posters do.
Signature edits are included with your wall art purchase. Wall art is available in metal, canvas, acrylic, wood, leather and matted gallery wall art.
Time involved: 40-60 minutes per each edit.